How to Fix WordPress Missed Schedule Post Error
As a beginner blogger, who is yet to receive as much traffic as you need on your blog, you might experience this issue.
A situation where you are writing posts and scheduling them and when the time comes for the post to go online, it does not go live automatically as scheduled. Instead, it shows you a “Missed schedule”. You will have to manually publish the post for the post to go live.
If this is you, don’t worry. It’s a common problem, and I will walk you through how to fix it easily and make sure your posts go live exactly when you want, even if you’re offline.
Now, why does this Happen.
Simply put, WordPress relies on visitors to be on your blog at the exact time you scheduled a post for it to trigger scheduled tasks using something called WP-Cron.
Read Also: How to Completely Uninstall Software on Windows Computer
But if:
- You don’t have traffic, that is, visitors on your blog at the scheduled time,
- Your hosting is slow or unreliable,
- Or WP-Cron is blocked,
then WordPress misses the scheduled time. This is what happens to your missed scheduled posts.
How to fix Missed Schedule issues
There are a few ways to fix this ranging from plugin “WP Missed Schedule” or “Scheduled Post Trigger” or “SchedulePress” plugin to coding, however, I prefer solutions that do not require me to add another plugin to my website and increase the size of my website.
So, we will be applying this fix by editing a setting within the Cron Job.
Set up a Real Cron Job (a More Reliable Option)
If you’re comfortable or have access to cPanel or your hosting tools: We will be disabling WordPress’s built-in system WP-Cron settings.
→ First, log in to your cPanel and go to your File Manager
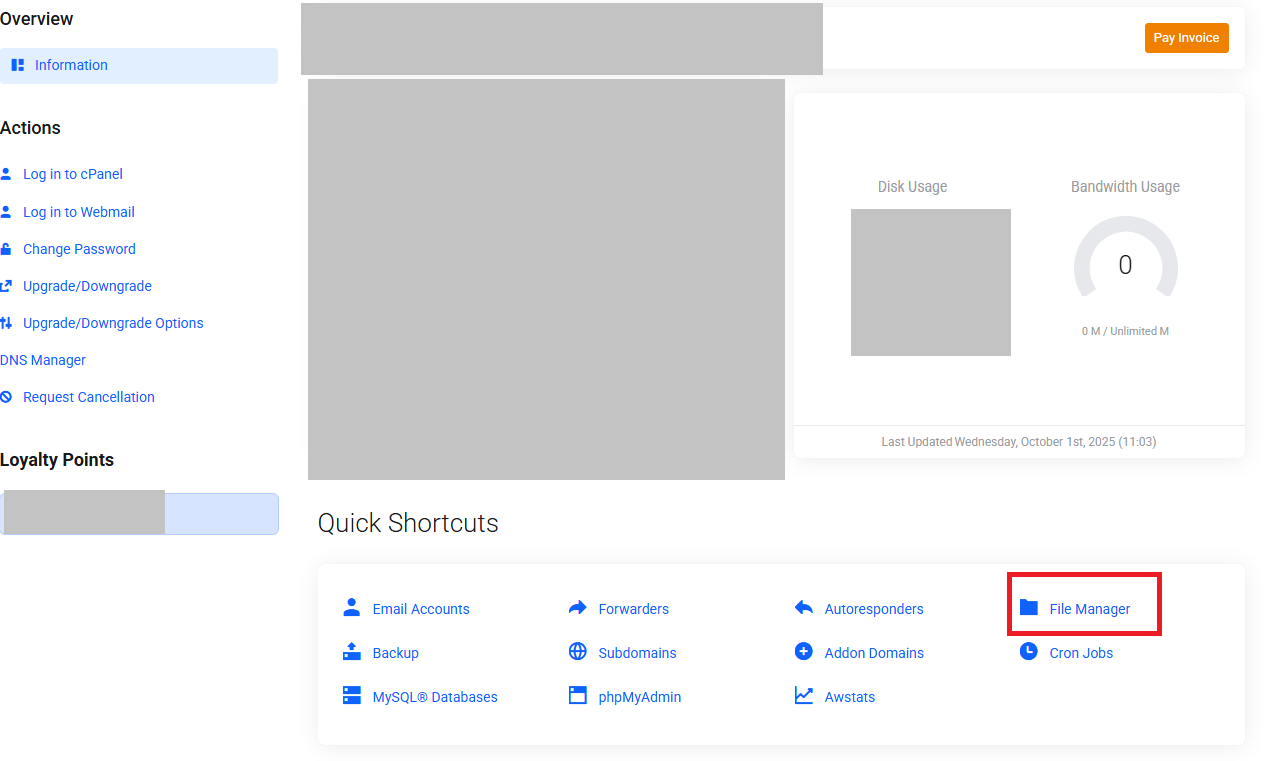
→ Confirm that you are on the website you want to work on. For the image below, it is the public_html.
→ Right-click on wp-config.php and click Edit.

→ When the page opens, gradually scroll down and look out for define(‘DISABLE_WP_CRON’, true). If you see it, don’t do anything further. Simply close the page. If you see “false“, then change the text to “true“, save and close.
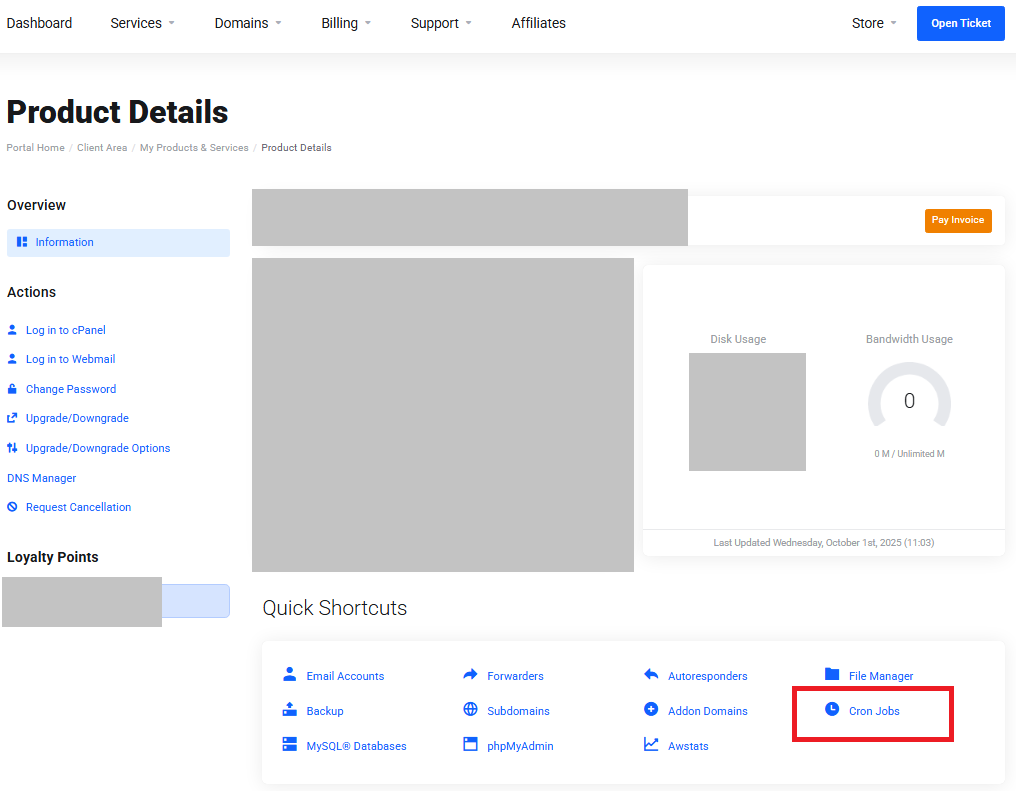
→ Next go to your hosting again. Look for Cron Jobs.
→ For the Common settings, select Once Per Five Minutes(*/5 * * * *). This automatically fills up the rest of the form.
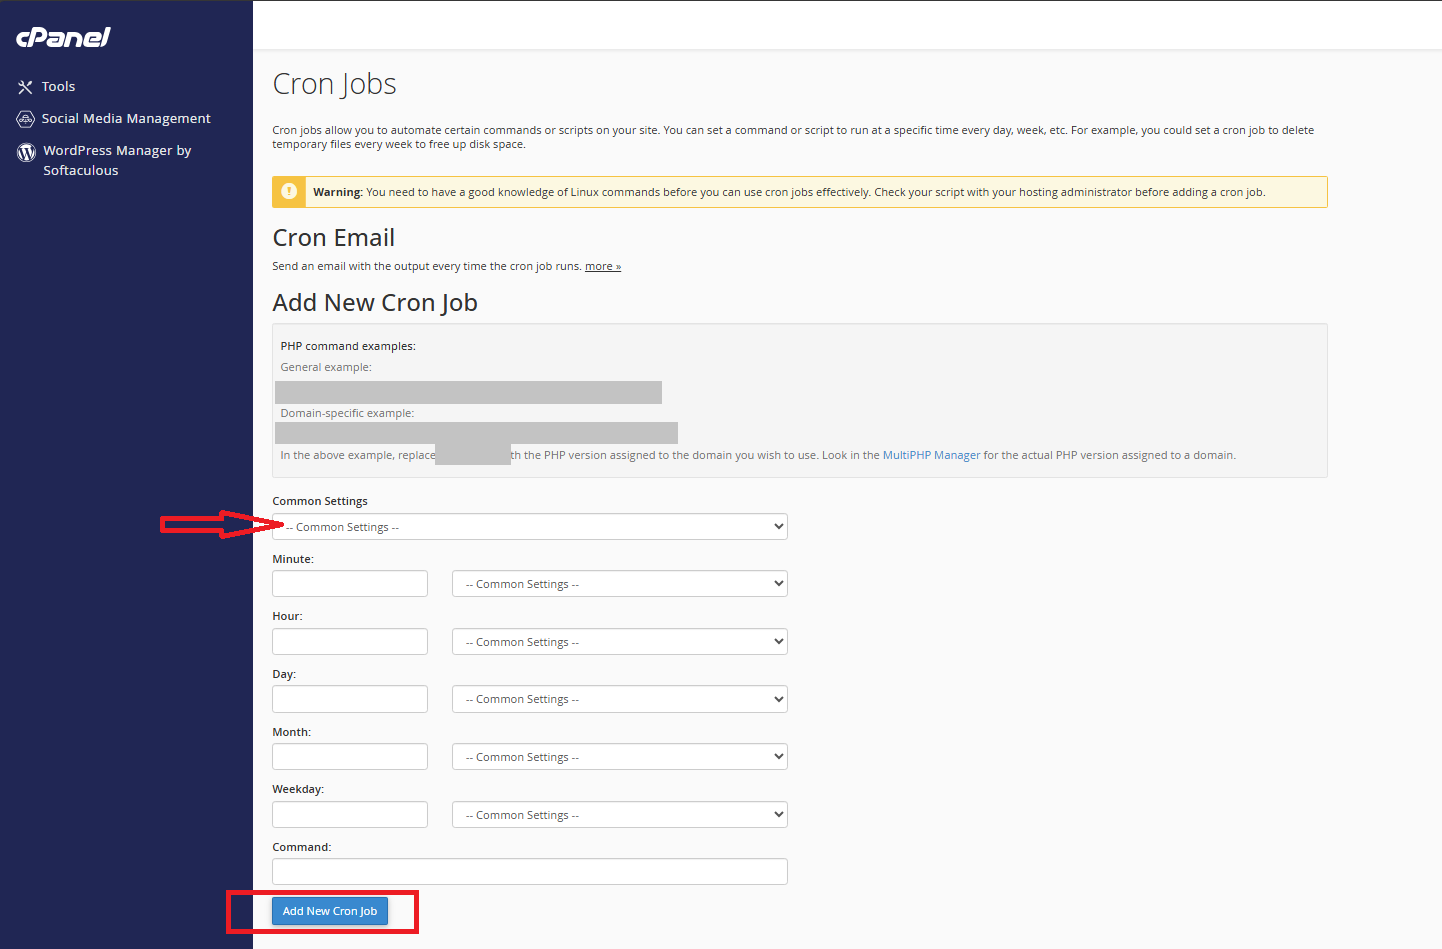
→ For the Command, copy and paste this wget -q -O – https://yourwebsite.com/wp-cron.php?doing_wp_cron >/dev/null 2>&1 Change the coloured text to match your website or blog link.
→ Click Add New Cron Job. That’s all.
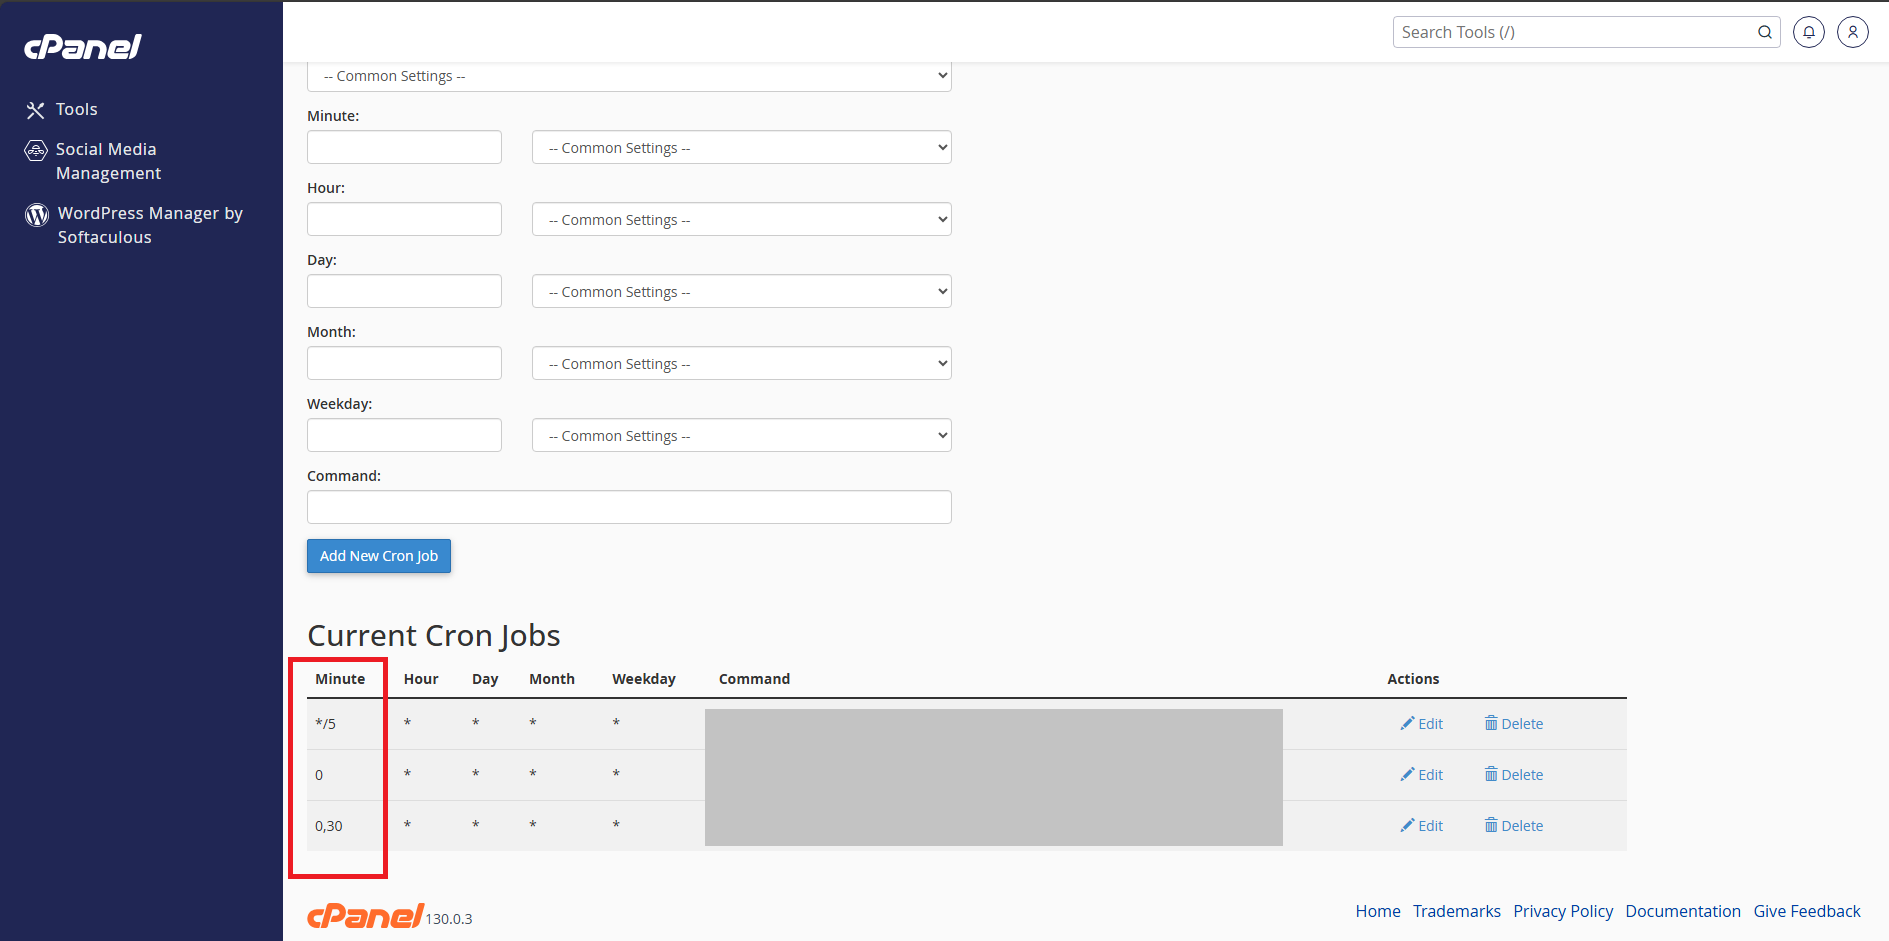
If you have multiple websites on your hosting plan, you will have to use a different time for each. For example, if you selected Once Per Minute(* * * * *) for the first website, select Once Per Five Minutes(*/5 * * * *) for the next website and so on. This is to avoid overloading your hosting at the same time.
See example in the image below.
Read Also: Help! I just Activated a Code Snippet and My Site Broke! – Here is What to do
This simple method is the most reliable, especially for blogging beginners with low-traffic websites or if you want precise publishing time.
If you cannot do it yourself, for a fee, I will be glad to help. Send me a WhatsApp message here.
Follow us for more WordPress Management tips.