There is no WordPress without adding relevant Plugins.
I consider plugins as fittings for a house. Fittings like electrical fittings, mechanical fittings, and even smart house fittings.
For your blog, remember that the more plugins you add, the heavier your site. You want to go with only what you really need.
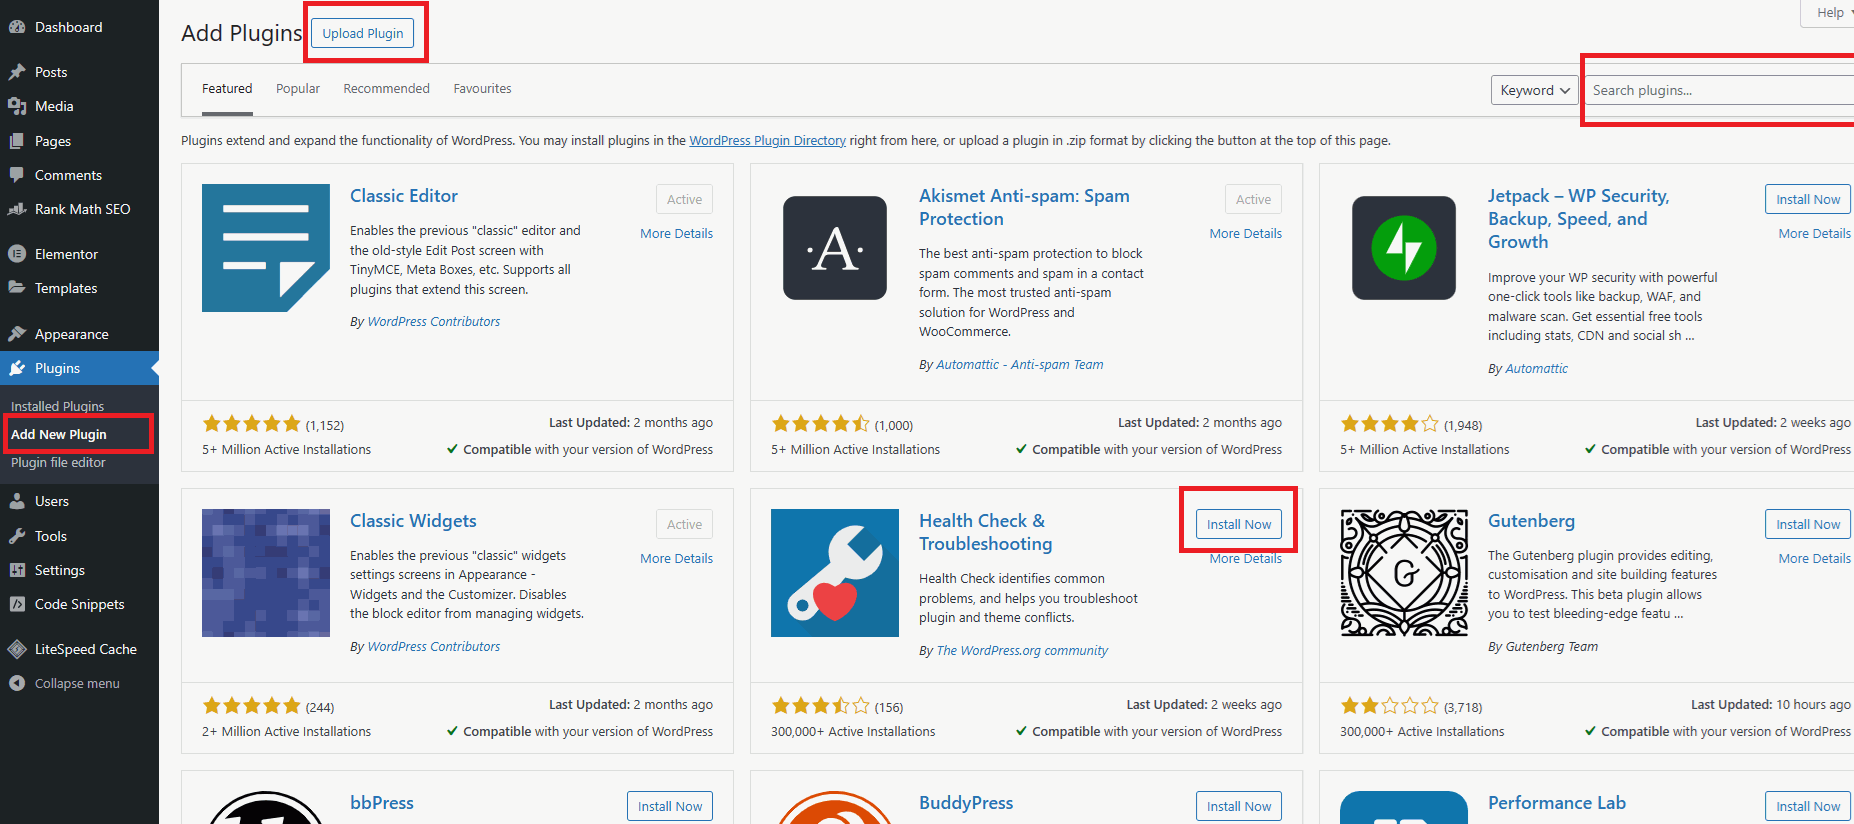
To install a plugin;
- Go to the left bar of your admin and click on Plugins → Installed Plugins.

2. Delete all the pre-installed plugins you do not need. To delete, scroll to the plugin you want to delete, and click on “deactivate“, then “delete“. Accept the popup message to delete the plugin.
3. To add a new Plugin, click “Add New Plugin” and use the search bar to look for a desired plugin. You can use the “Upload Plugin” to add a plugin you have or purchased. The accepted plugin format is a zip file.

4. Click “Install Now“, and then “Activate” to add a plugin.
Do these for every plugin you desire.
***
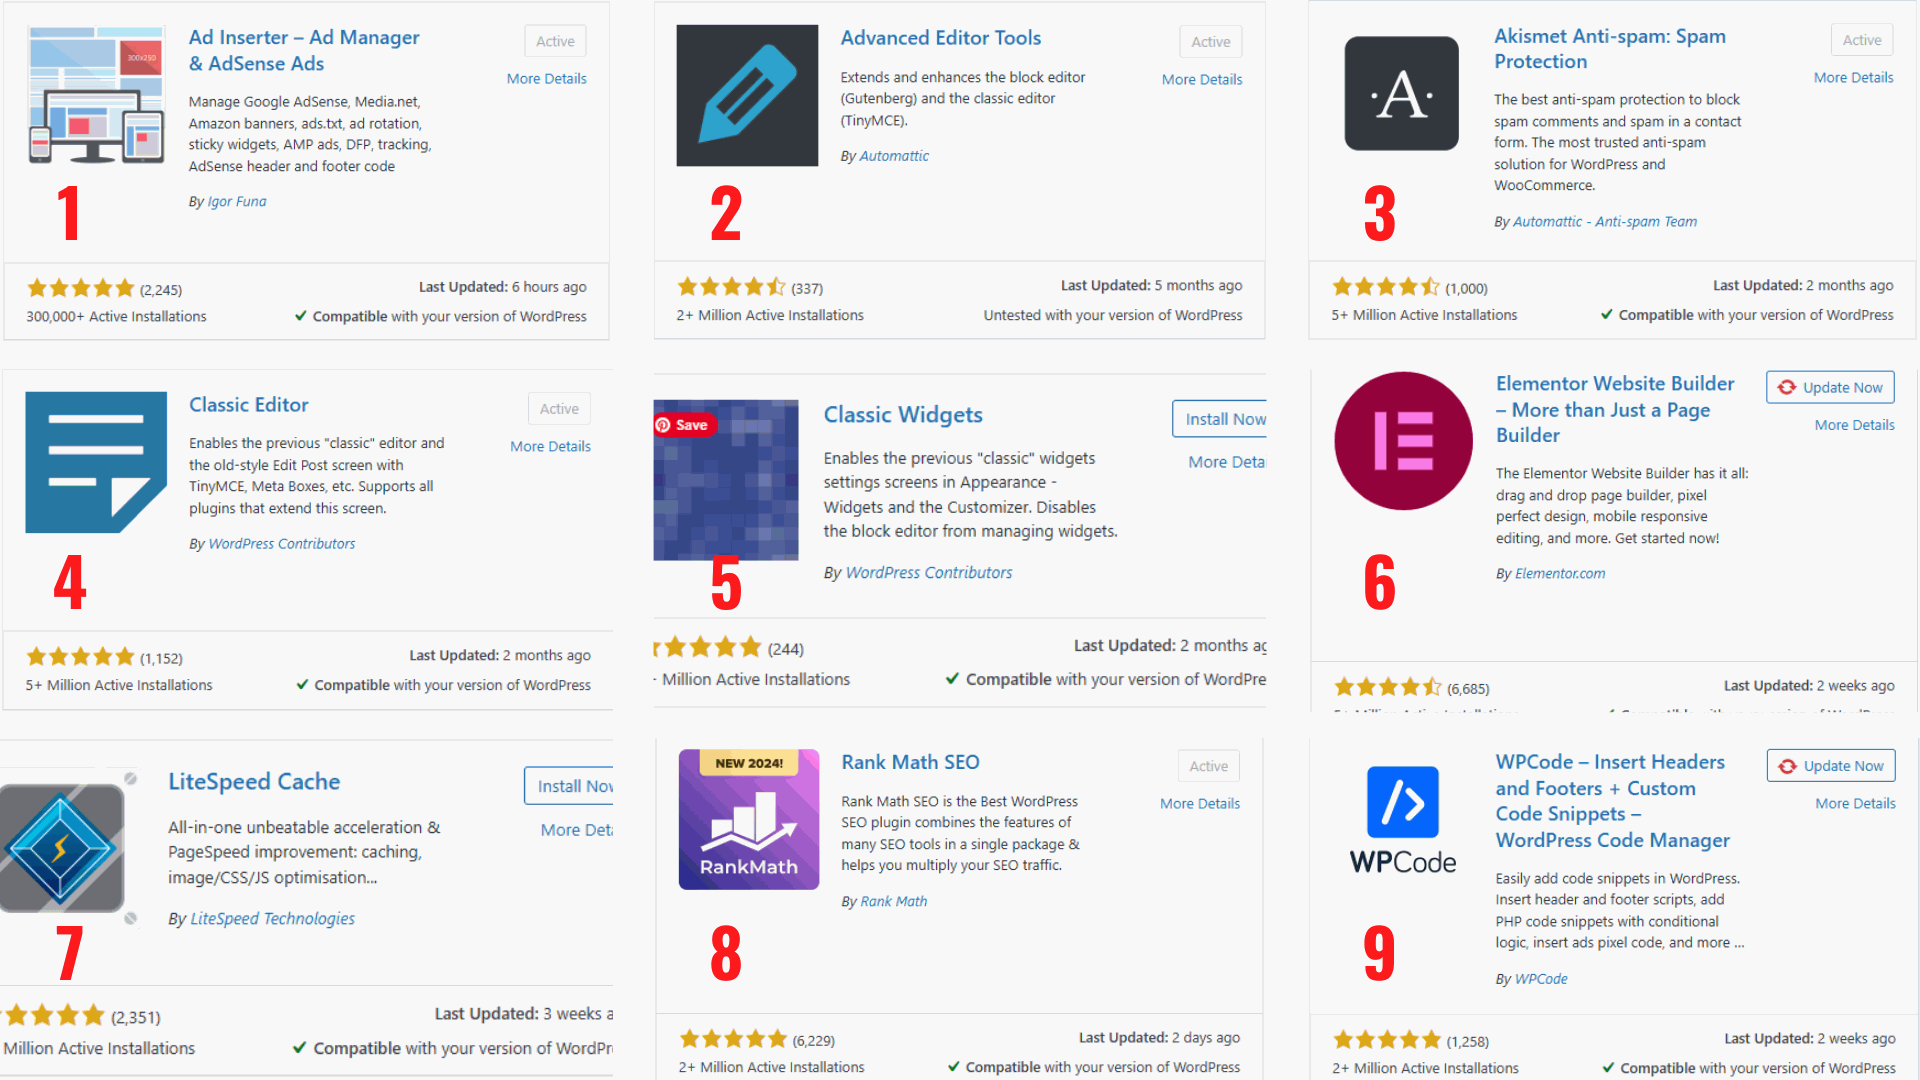
Here are my recommended, free, relevant plugins to add to your blog, or go here to find more.

1. Ad Inserter
For adding third-party advert codes like AdSense. After activation, this doesn’t require you to do anything further until you have ad codes to insert.
2. Advanced Editor Tools
This allows you more flexibility for writing, allowing the addition of elements like anchor links, and advert codes in between your blog posts.
For the settings, go to your left sidebar, and click on Settings → Advanced Editor Tools. When it opens, switch from Block Editor (Gutenberg) to Classic Editor (TinyMCE). You will see the “Unused Buttons“. Drag and drop as many as you wish from the unused buttons to the “Enable the editor menu“. When you are done, click the save changes at the right corner to save.
3. Akismet Anti-spam: Spam Protection
To control spam comments on your blog. You won’t need this if your comment section is turned off. For the settings, you will need to create an account with Akismet to get the API key.
4. Classic Editor
For writing. Nothing is to be done after activation.
5. Classic Widgets
For displaying sidebars on your blog. The most common sidebar is the right sidebar. For settings, nothing is to be done after activation, save for when you want to add an element or ad codes.
6. Elementor
For redesigning your page layout. Use this minimally. I recommend using it on only your home page, to avoid increasing the weight of your blog.
7. LiteSpeed Cache
To cache your blog and reduce the time it takes to serve your blog to your readers. After activation, go to your left sidebar and click on LiteSpeed Cache → Presets. When it opens, click on “Apply Preset” under Advanced (Recommended).
8. Rank Math SEO
To ensure you abide by the requirements for well-optimized blog posts. This plugin requires you to create an account and link to your WordPress to activate it.
9. WPCode Lite
For adding any required codes to your header, body, and footer, since you do not know how to write codes, and should not be found tampering with your main blog code. No further settings are required.
***
Now that you have added relevant plugins to your WordPress, let’s go to the next steps.
Step 10: Setting up Required Pages on Your WordPress Blog.
Step 11: Creating Your First Blog Post.
Step 12: Submitting Your Blog to Search Engines.
***
Happy blogging…


